Commands
A Command defines how AutoBonk should configure and launch other processes. You can set arguments, variables, and other settings.
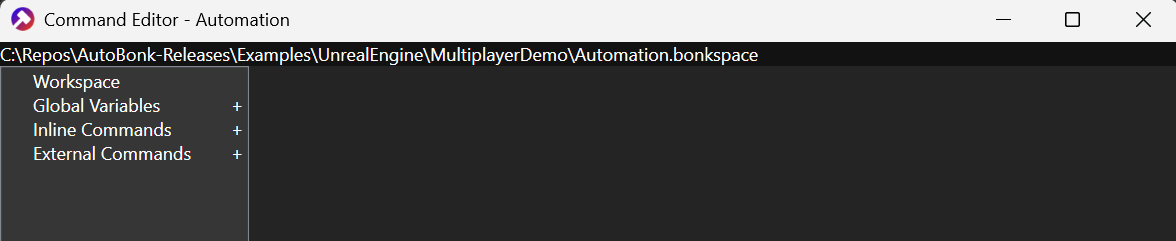
You can add and edit commands by modifying the Bonk Workspace by hitting the ✏️ at the top-right. Command definitions are stored in a series of JSON files.
In the Command Editor you can add, edit, and delete Variables, Commands, and Command Groups.
Adding Commands
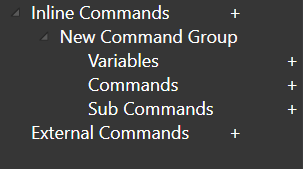
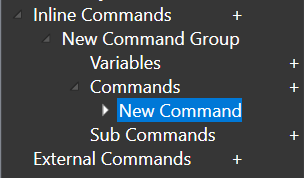
To Add a new command, under the command group you can hit the “+” across from Commands to add a new one, or you can right-click Duplicate an existing one. New commands are added to the bottom of the list. You can also right-click delete commands.
Generally commands execute scripts and you can use variables (local and global) to customize how they run.
Command Editing
When you select a command a sub-editor is opened. Different pieces are organized into Settings, Arguments, and Variables tables.
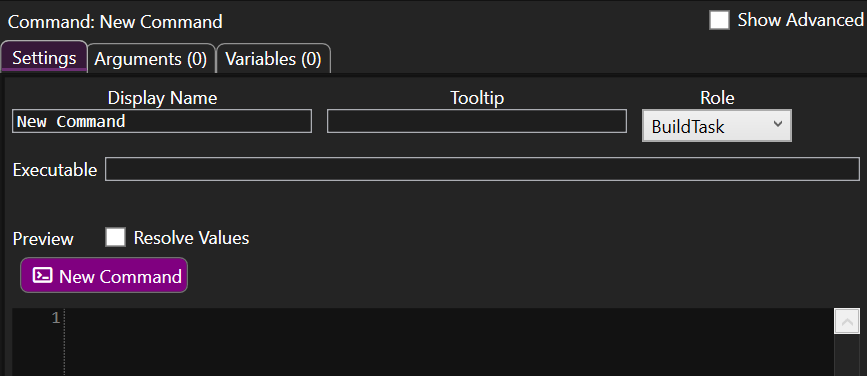
DisplayName: The name of the command (shows up in buttons) and is used for referencing commands elsewhere (i.e.
[[CommandName]]) for Sequences.Tooltip: Mouse-over tooltip for the command in the user interface
Role: Commands can assume a different Role based on how it is used. It can be:
BuildTask (generally: something that runs headless and is not interactive)
LaunchProcess (generally: something with a GUI, like the game client or event the server)
Sequence - special type of command that string together other commands by reference
Executable: Path to the executable to run. This field supports variable substitution as well as referencing other commands via
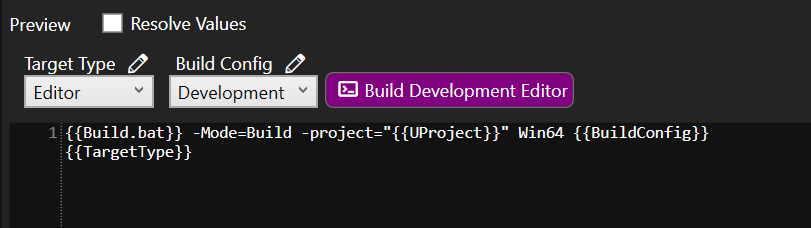
[[ParentCommand]].Preview: Lets you see what the command will look like in the UI along with what it would look like executed on the commandline.
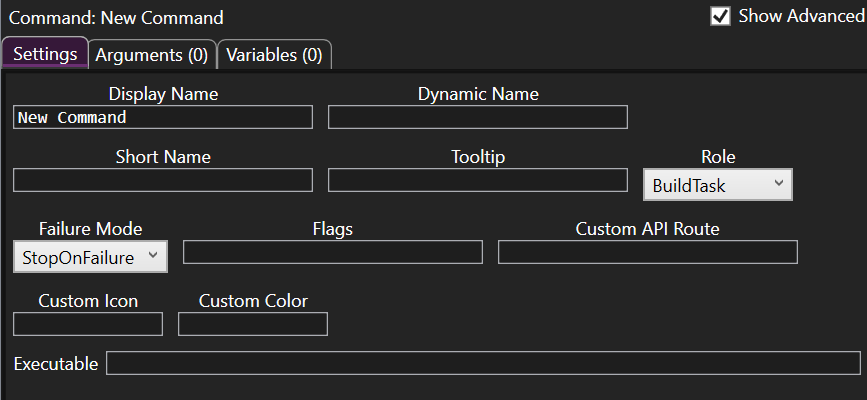
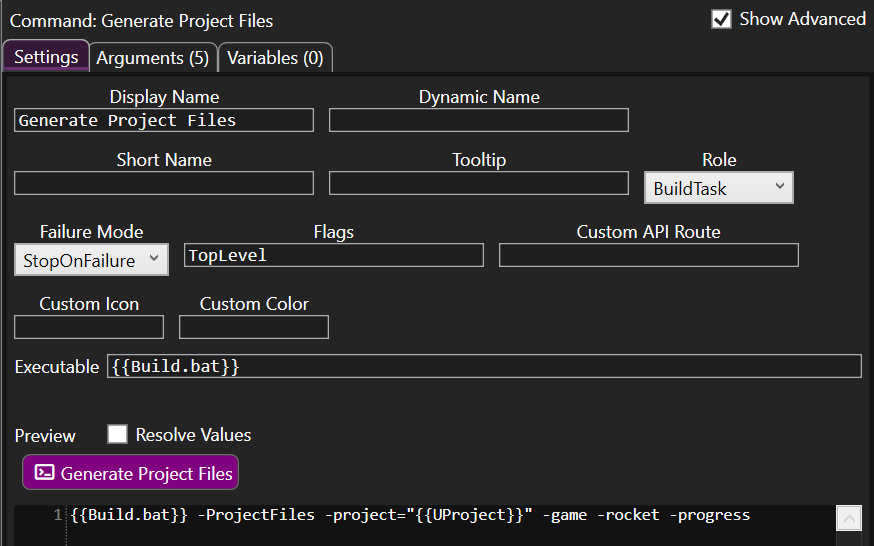
On the Settings tab the “Show Advanced” checkbox will reveal additional settings you can tweak. Clicking “Show Advanced” reveals additional settings for a command.
Dynamic Name: (Optional) can accept variables to customize the button look (user selects a different build config and it shows up on the button)
Short Name: (Optional) can accept variables, used in the AutoBonk tab for the process as it runs
Flags: Add
TopLevelto add it to the main AutoBonk page for the workspace. AddForceUnicodeOutputto try and emit unicode characters (Windows-only)Role: How we interpret the command / change settings on launch
FailureMode: How the command behaves on failure (either stop the sequence or continue)
CustomColor: Use an HTML color (
#RRGGBBAA) or an HTML color nameCustomIcon: Use a BoxIcon name (Documentation TODO)
Here is an example of a command with some advanced fields used.
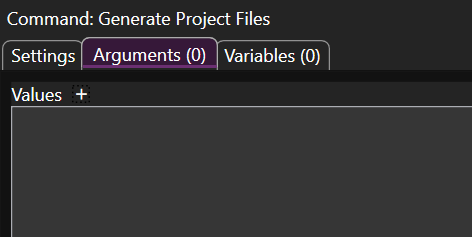
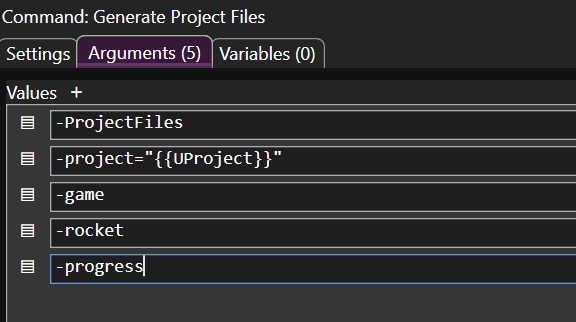
The Arguments tab lets you add a simple list of arguments to the executable. Each argument accepts variable substitutions and is added to the command invocation with spaces placed in-between them.
The Variables tab lets you add variables directly to a command. These variables are privately scoped to the command and add on to the list of global ones when the command is executed.
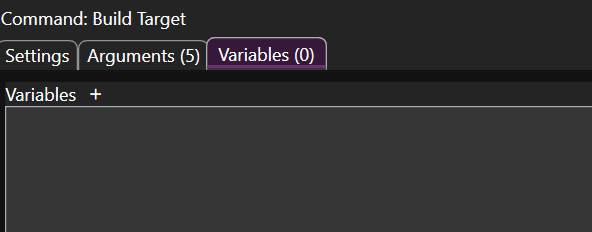
Each type of variable has many different kinds of properties and uses. See Variables for more information.

The Preview section lets you see what the command looks like as if it were executed in the shell. You can use this to test how your arguments react to different user inputs and the environment of variables in the workspace.


Sub-Commands
You can make sub-commands by referring to the parent command by name in the Executable field using [[Command Display Name]]. You can specify variable specializations in the Arguments tab if the parent command takes user input normally.
Documentation TODO