Quickstart
The following is a very quick overview of creating a new workspace and setting up one variable and one command that you can run.
Note
Workspace for this page: Examples/Quickstart/HelloWorld 🗒️.
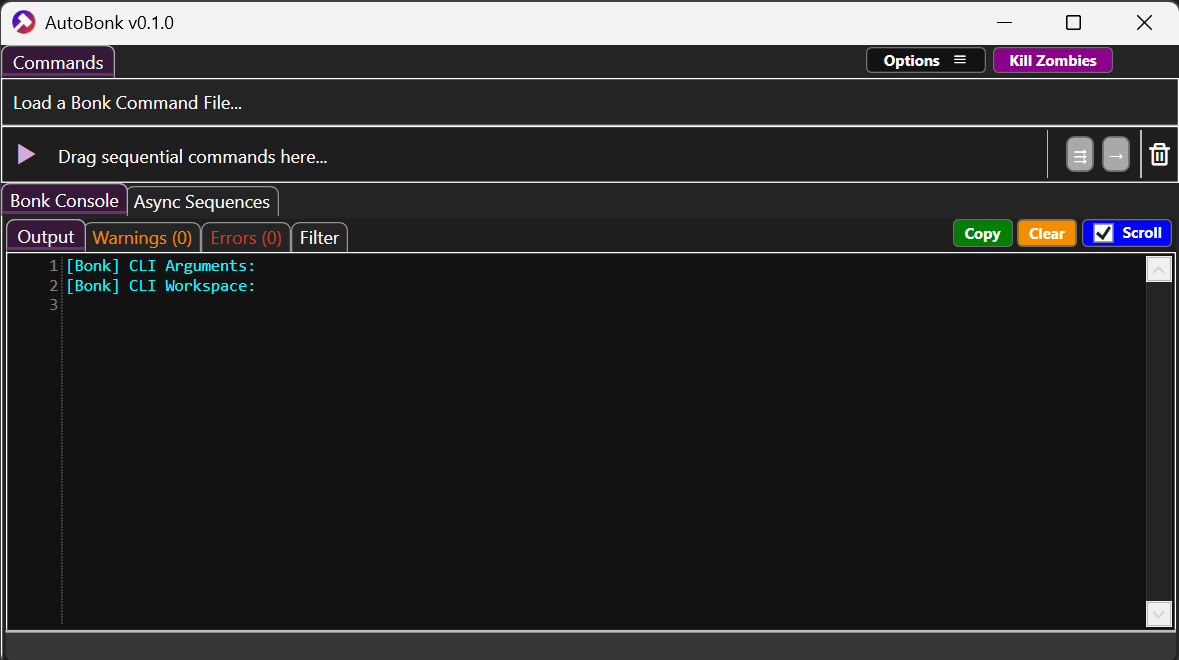
When you first open up AutoBonk, it will look something like this.
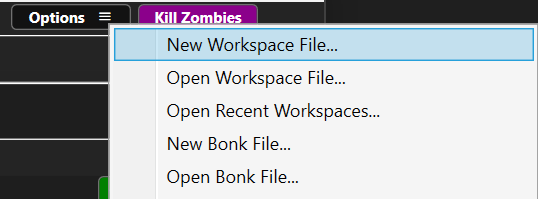
We will begin by creating a workspace. Go to Options > New Workspace File…
A dialog will appear for you to select a location for the workspace file to be created. The default name is Automation.bonkspace. Hit Save after picking the location.

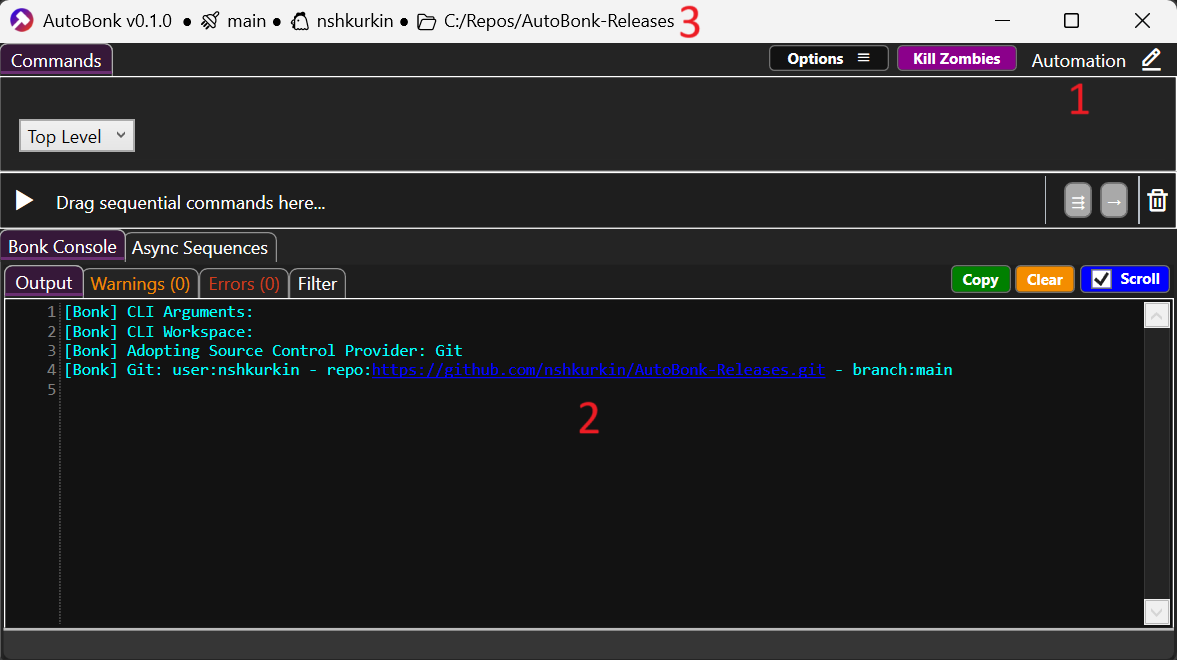
Once you create the workspace, the view will update to reflect that new workspace. Some things to point out (see diagram below):
The name of workspace and where you can edit it (the ✏️ button).
The Bonk Console, showing any operations that performed internally in the app.
The branch/stream, username, and repo path, if you place your workspace within an active repo (git or perforce).
Let’s edit the workspace to start adding a simple command. Find the ✏️ at the top right and click it to edit the workspace definition. The window that pops up is the Command Editor (see below). This is the main interface for modifying the workspace to variables, commands, and command groups.
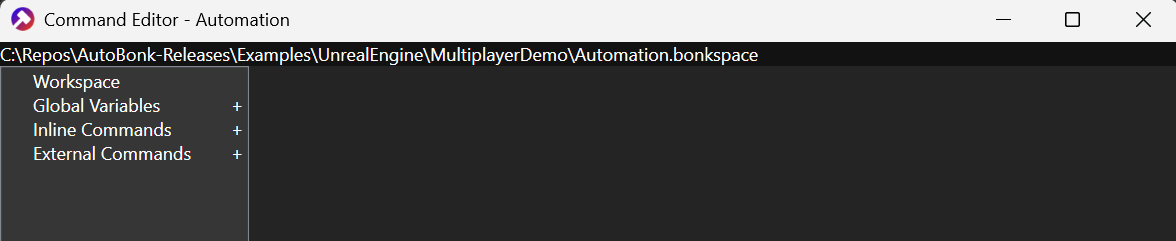
Hit the “+” to the right of Inline Commands to add a new command group.
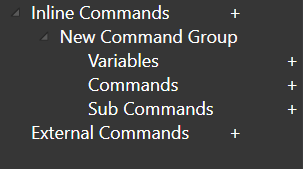
Hit the “+” to the right of Commands to add a new command.
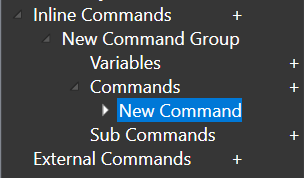
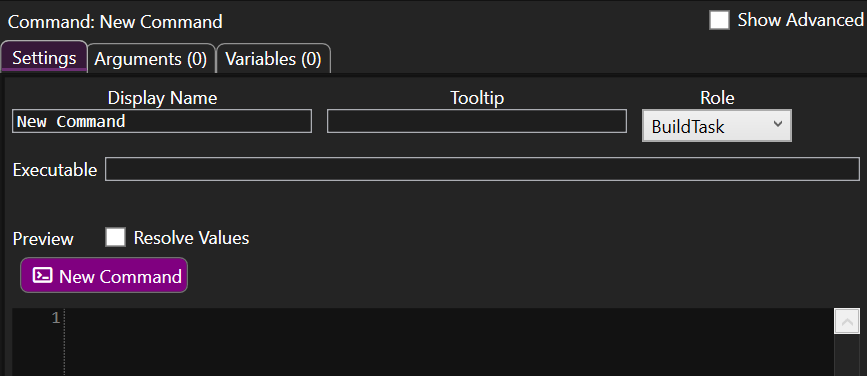
Click on the new command. To the right you will see a sub-editor pop up that will let you modify the properties of the command. Hit the “Advaced” checkbox to reveal more properties.
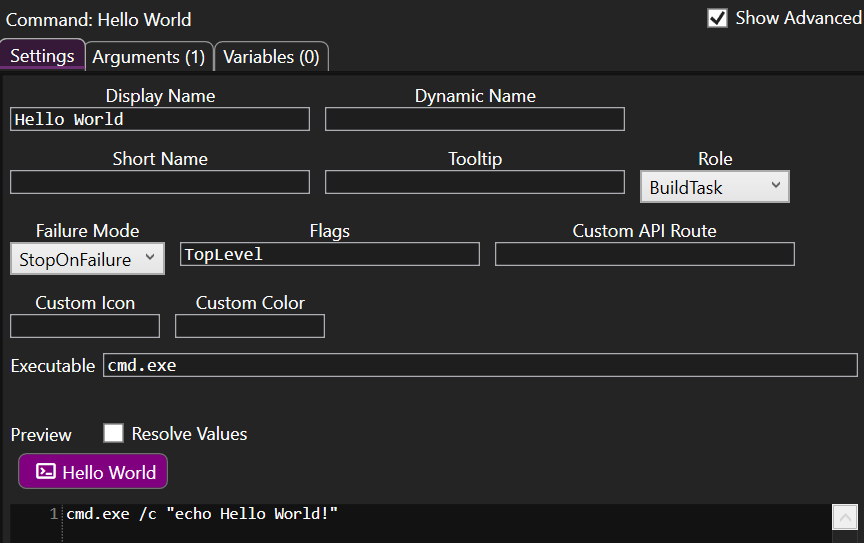
Input the following data:
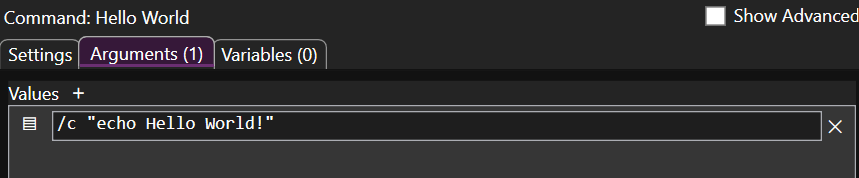
Settings tab (hit the “Advanced” checkbox)
Display Name:
Hello WorldFlags:
TopLevelExecutable:
cmd.exe
Arguments Tab
First argument:
/c "echo Hello World!"
Under the “Global Variables” section add a new variable, change its Variable Name to LOG_DIR, change its Type to Path, and set the Value to {{WORKSPACE_DIR}}/Logs. This ensures that the logs that AutoBonk creates live relative to the workspace file (inside your project’s folder hiearchy).

Exit the Command Editor and you should now see our “Hello World” command show up at the top. Click on the command to run it.
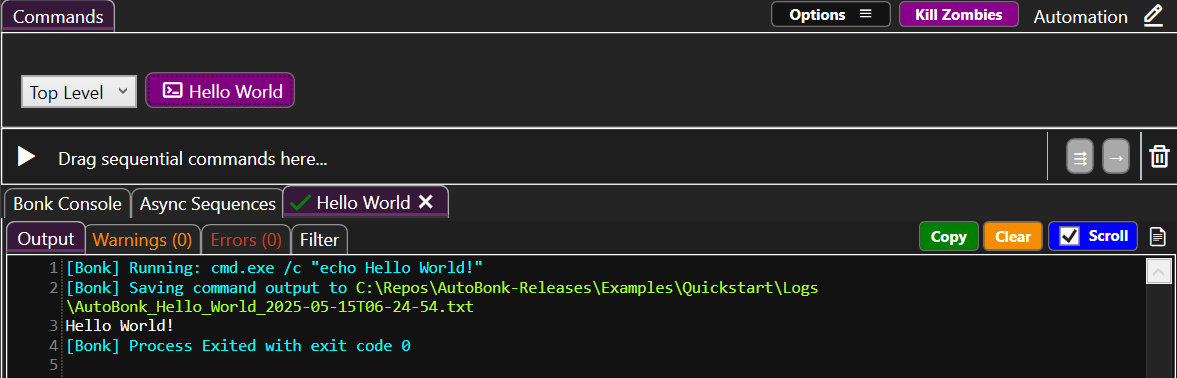
Congrats! You are now ready to start building more complex workspaces in AutoBonk. Please refer to the examples and to the rest of the documentation.